Microsoft Authenticator
This guide will walk users through an alternate method to set up the Microsoft Authenticator app. This is required to access GCCCD resources away from campus. You will need two separate devices to complete this procedure - a laptop or desktop computer, as well as your smartphone.
*Note: This guide shows iOS and Android images. The steps are nearly identical for both.
Setting Up the Authenticator
An overview of the process is as follows:
- Download the Authenticator app to your smartphone.
- Attempt to log in to Self-Service on a separate device (PC or laptop).
- When logging in, users will be prompted to set up authentication.
- You will use the Authenticator app to scan a special QR code.
- Test the authentication by receiving an app notification on your phone.
Please follow the procedures below to download and set up the app:
Part One - Download the Authenticator App
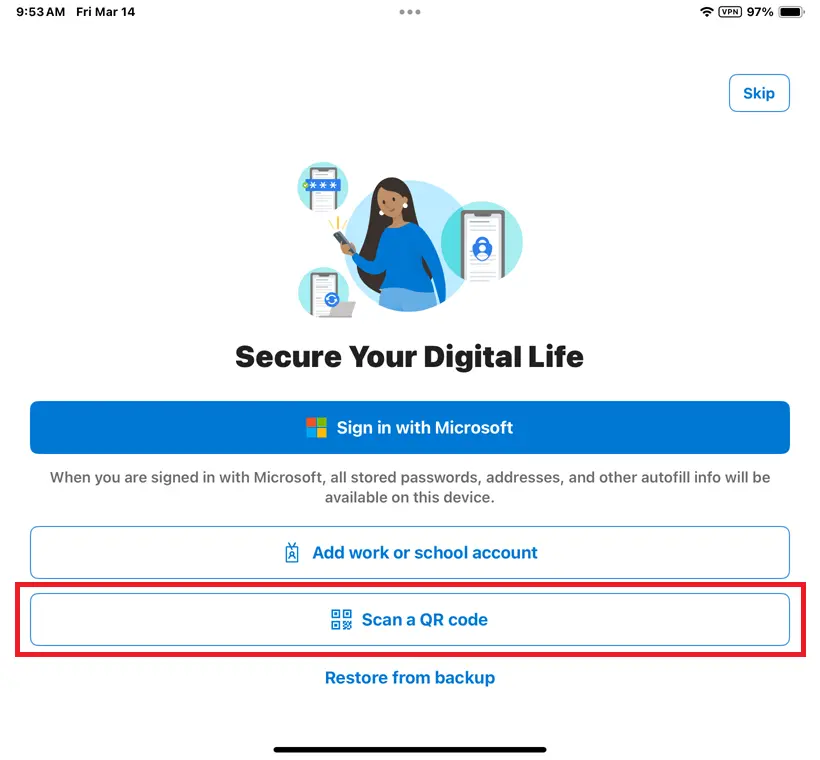
The app is available free of charge on the Google Play Store or the Apple App Store.
Start by getting the app:
- In your respective app store search for Microsoft Authenticator:
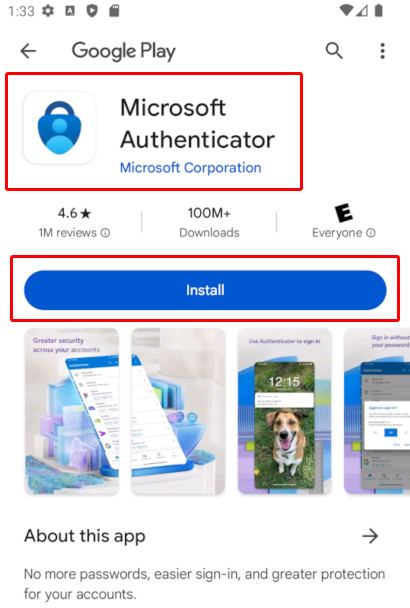
*Note: Double- and triple-check you’re choosing the app by Microsoft Corporation.
- Install the app from the appropriate app store. Once installed, you may leave the app alone and switch to another device.
Part Two - Log in to Self-Service
Authentication is triggered when attempting to access most GCCCD resources. Self-Service is the school's main portal.
Start the process by trying to access Self-Service:
- Open your web browser on a laptop or desktop computer (not your phone). Chrome, Firefox, or Edge preferred (Safari may sometimes fail).
- Launch a new Private or Incognito window from the browser menu.
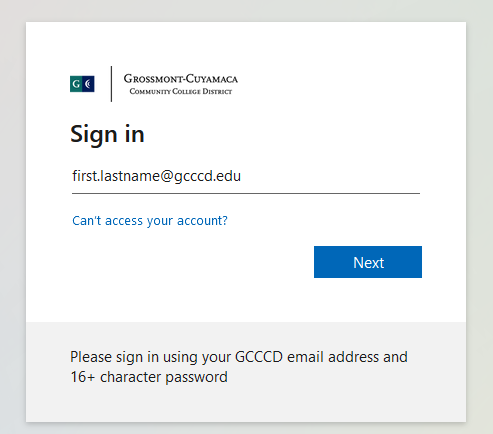
- Navigate to GCCCD's Self-Service portal (selfservice.gcccd.edu).
- Enter your @gcccd.edu email address. If unsure, see FAQs or Passwords and Accounts Guide. Select Next:
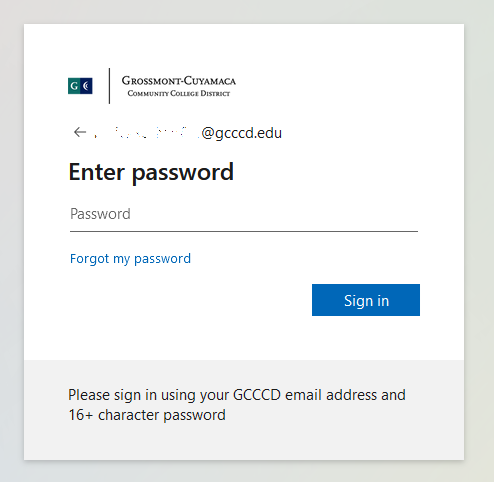
- Enter your password (see FAQs or guide if unsure) and select Sign In:
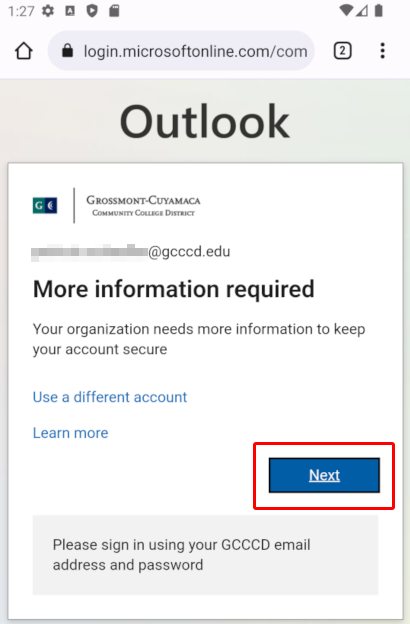
- You will see the Microsoft More information required screen. Select Next:
Part Three - Scan a QR Code Using the Authenticator
Add your account to the Authenticator app by scanning a special QR code. Follow the procedures below:
- Advance through the Start by getting the app screen by choosing Next:

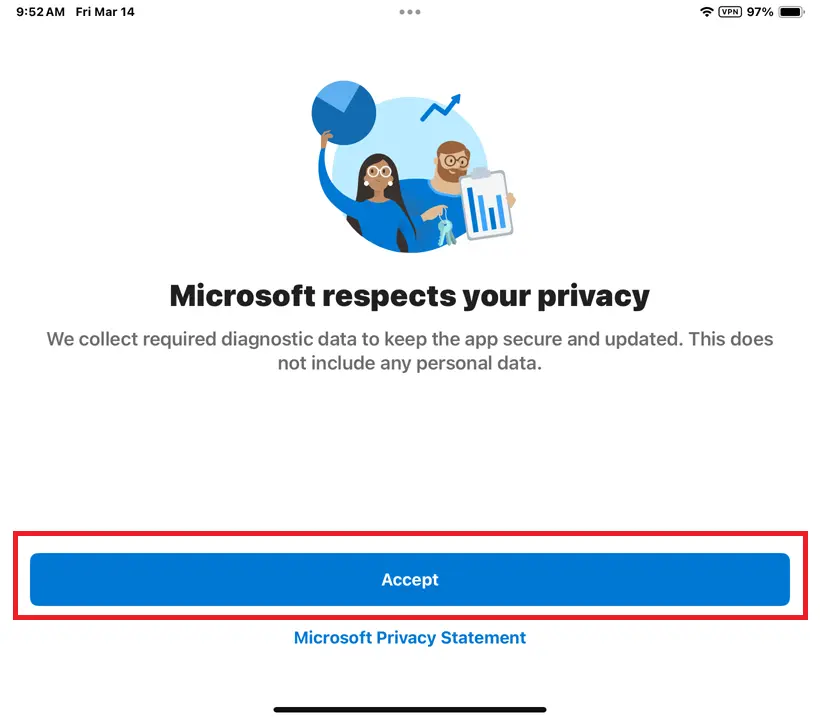
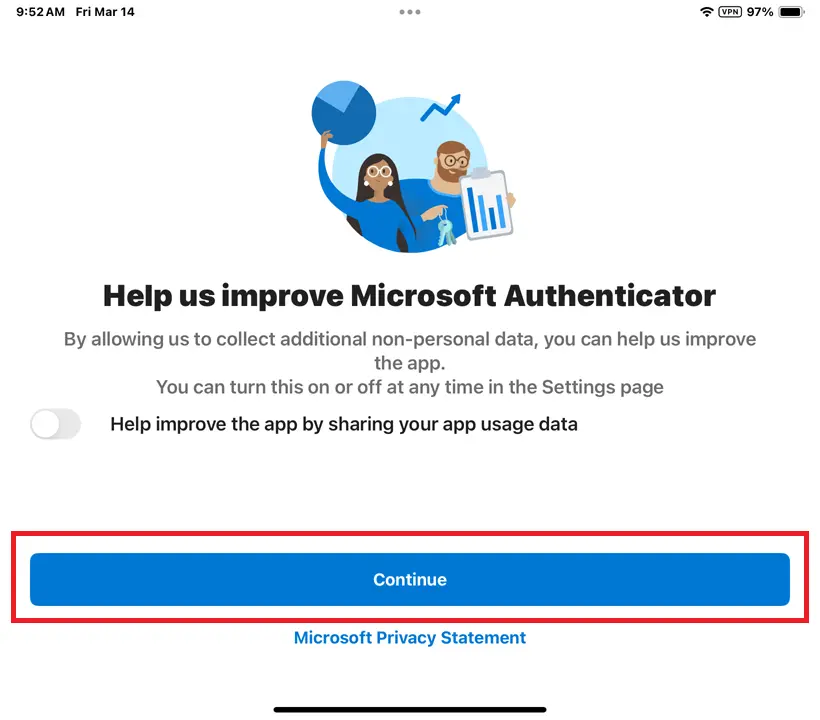
- Open the Authenticator app on your phone. Accept policies and continue to main screen:
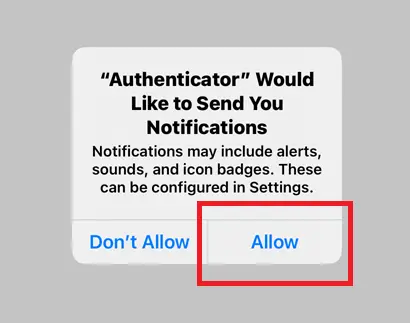
*Note: If any permissions are requested, choose Allow, including notifications and camera access to scan the QR code.
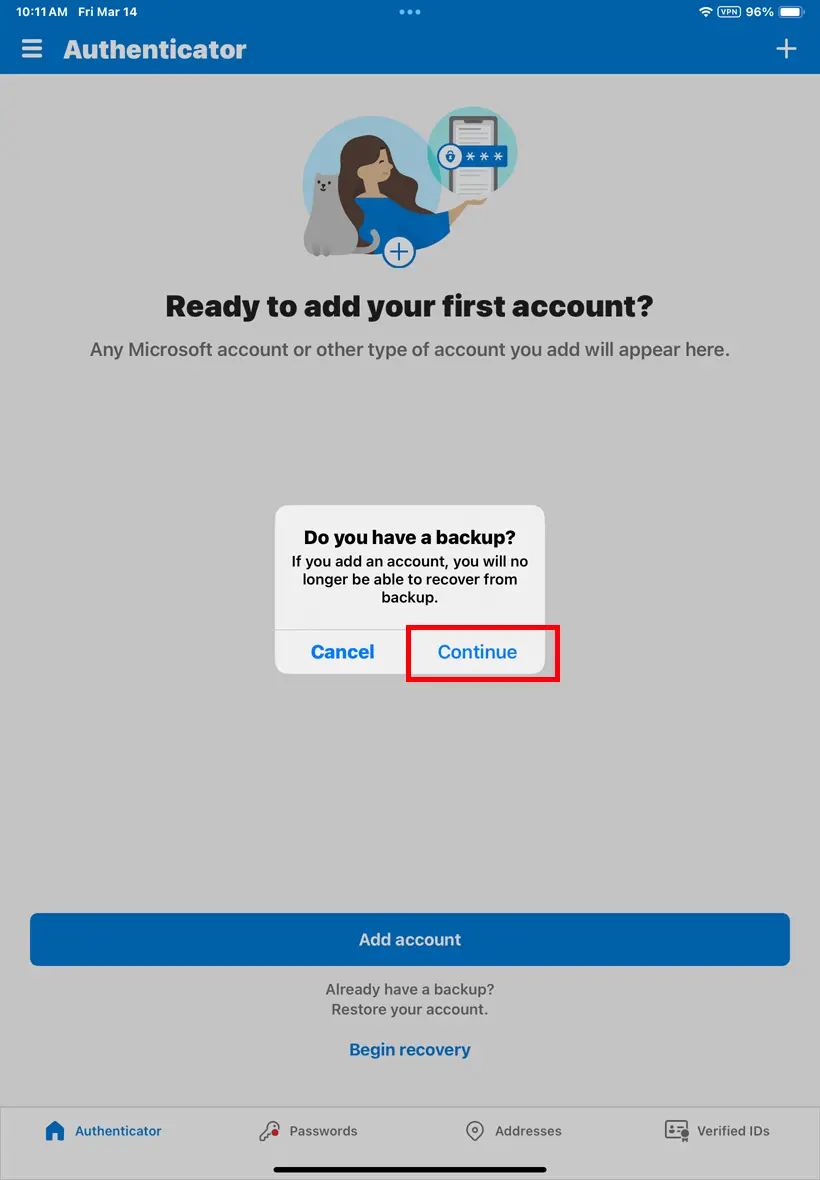
- Choose Continue if asked about backups:
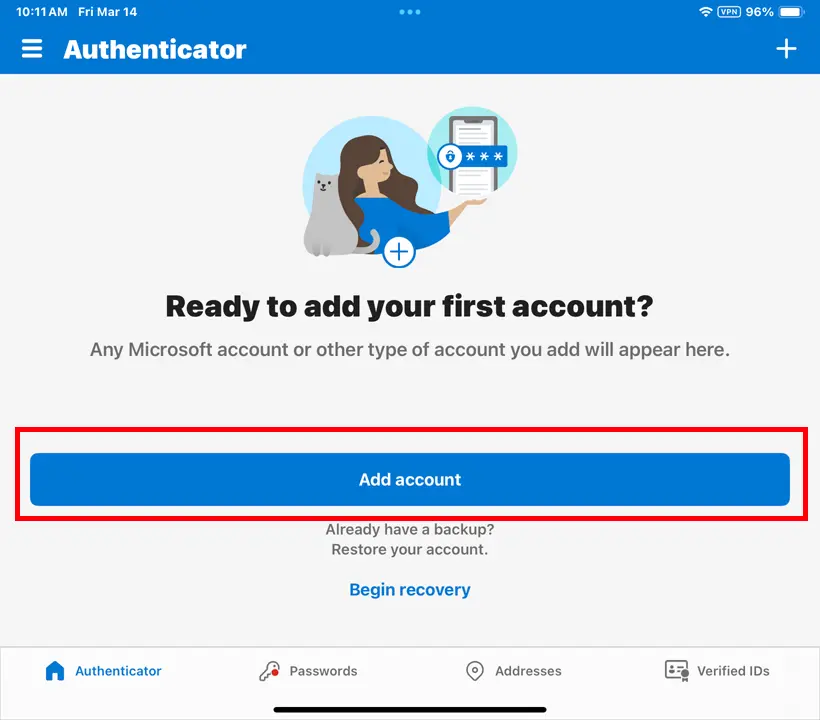
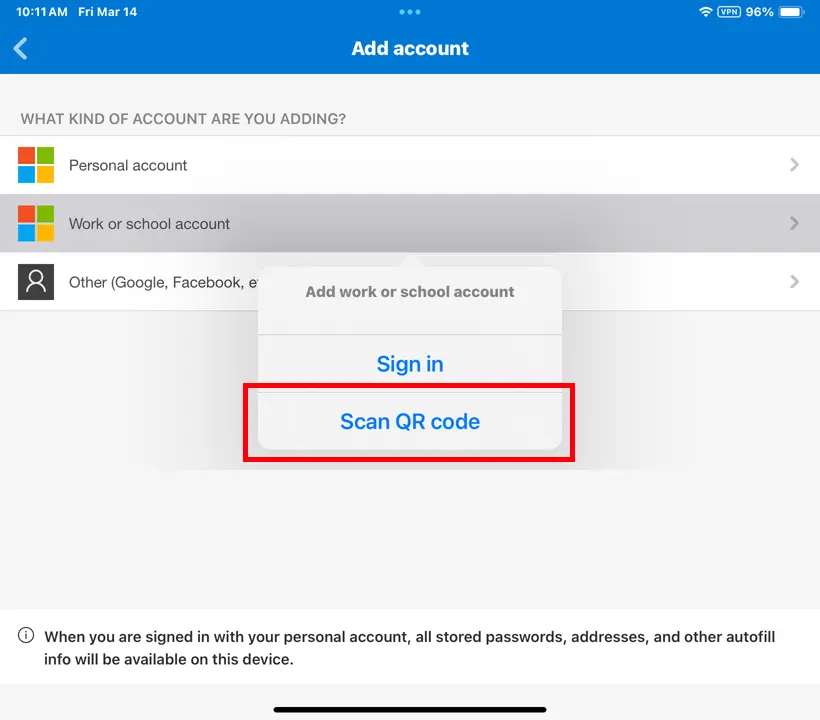
- Select Scan a QR code to add your account:
*Note: If you do not see Scan QR code, tap Add account or the plus-sign (+) and choose Work or school account.
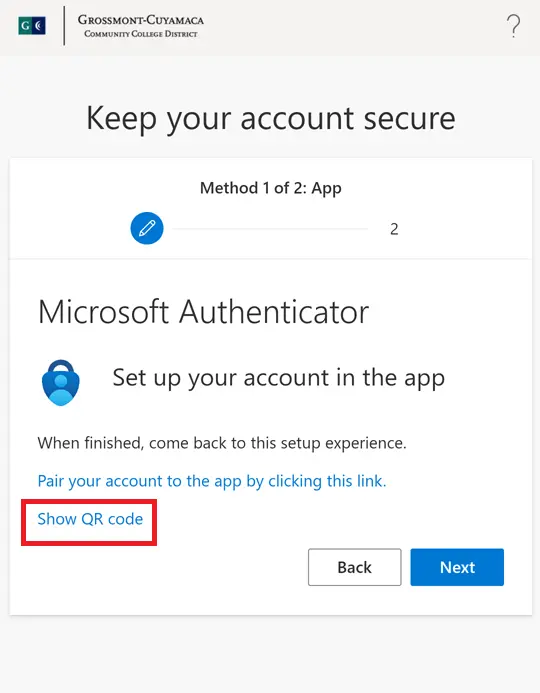
- On your computer, click Show QR code on the Set up your account in the app screen:
- Scan the QR code with Authenticator app (do not use phone Camera app):
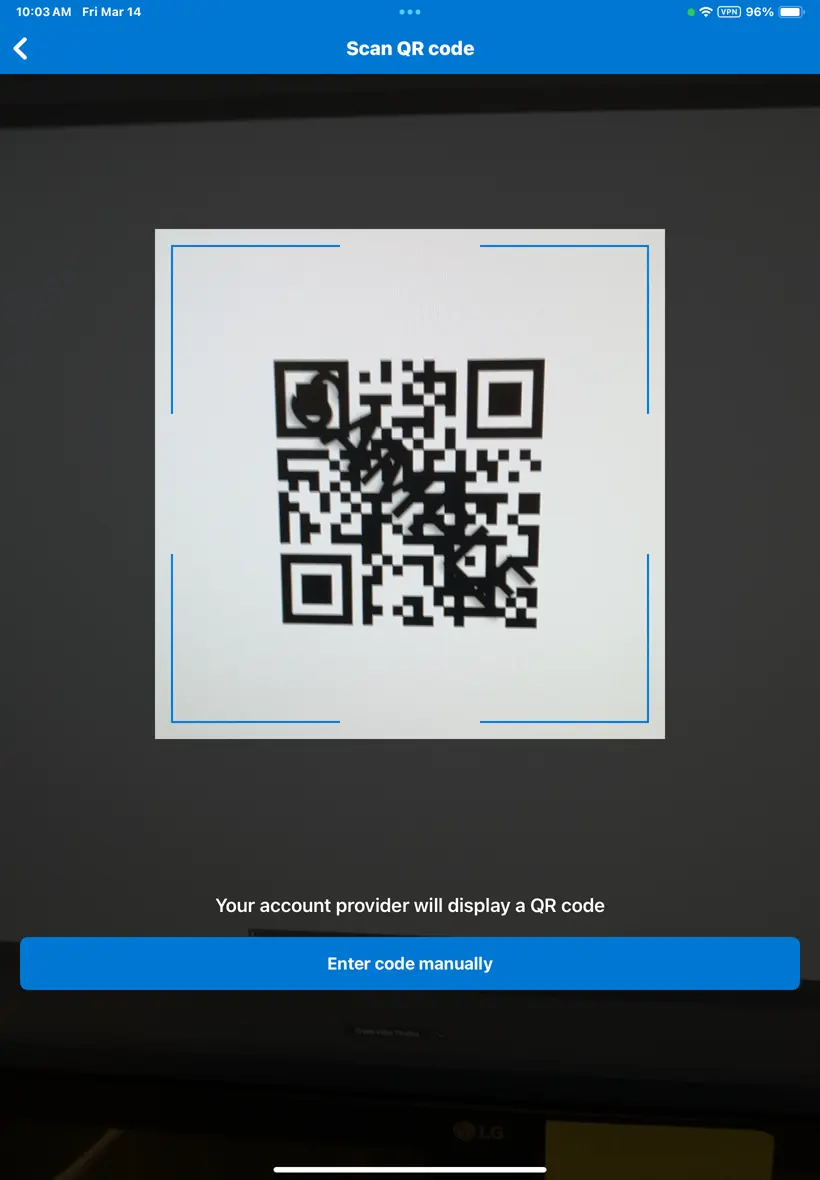
*Note: Do not use your phone's Camera app. Use the Authenticator's Scan QR code option.
- Your account should now be listed in the Authenticator app. Switch back to the computer and advance screens to test connection.
Part Four - Finalize the Connection
If your account is listed in the app, you're nearly finished. Do not stop without completing the process below.
To test and finalize the connection:
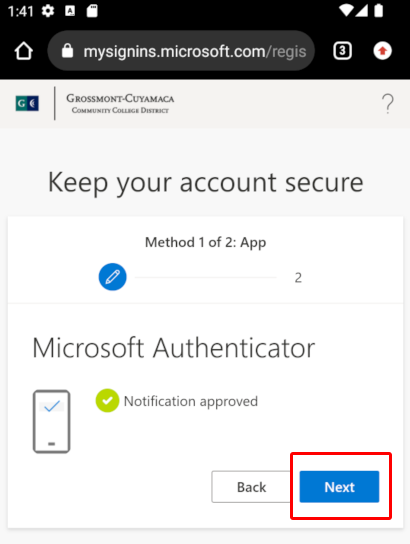
- On your computer, advance the screen by choosing Next to see a two-digit code.
- You will quickly receive a notification on your phone from the Authenticator app. Reopen app or swipe down to see it. The notification will say Approve sign-in? with padlock icon:

- Open the notification. Enter the two-digit number and confirm Yes to approve sign-in:

- The webpage updates showing Notification approved:
Choose Next if needed, and complete signing in.
*Note: Submit phone number if prompted. Enter the text code received to fully authenticate your account.
Congratulations, you are now finished!
Microsoft Authenticator is successfully set up. Future logins require only approving sign-in on your smartphone with a two-digit code.
Need Further Assistance?
If you have questions or need clarification about this guidance, please reach out to the Technology Help Desk.