ArcGIS Software
ArcGIS software is developed by ESRI (Environmental Systems Research Institute) and used in certain GIS courses. Follow the instructions below if your course indicates use of this software.
*Note: Access to ArcGIS is given only to students registered for a course which requires its use. If "crashing" a class, please allow 24 hours before attempting to access this software.
ArcGIS Editions
ArcGIS is available in different formats. Your instructor will determine which version is used for your class. Please follow the steps below to access or download the software.
ArcGIS Online (Cloud)
Students may access ArcGIS Online by logging in to their @gcccd.edu SSO account:
- Using Google Chrome or Microsoft Edge, open a new Private or Incognito Window.
- Log in to your GCCCD student apps portal .
*Note: Your @gcccd.edu SSO credentials are the same as used for Self-Service.
- Once logged in, scroll down through the Apps section and locate the tile for ArcGIS Online.
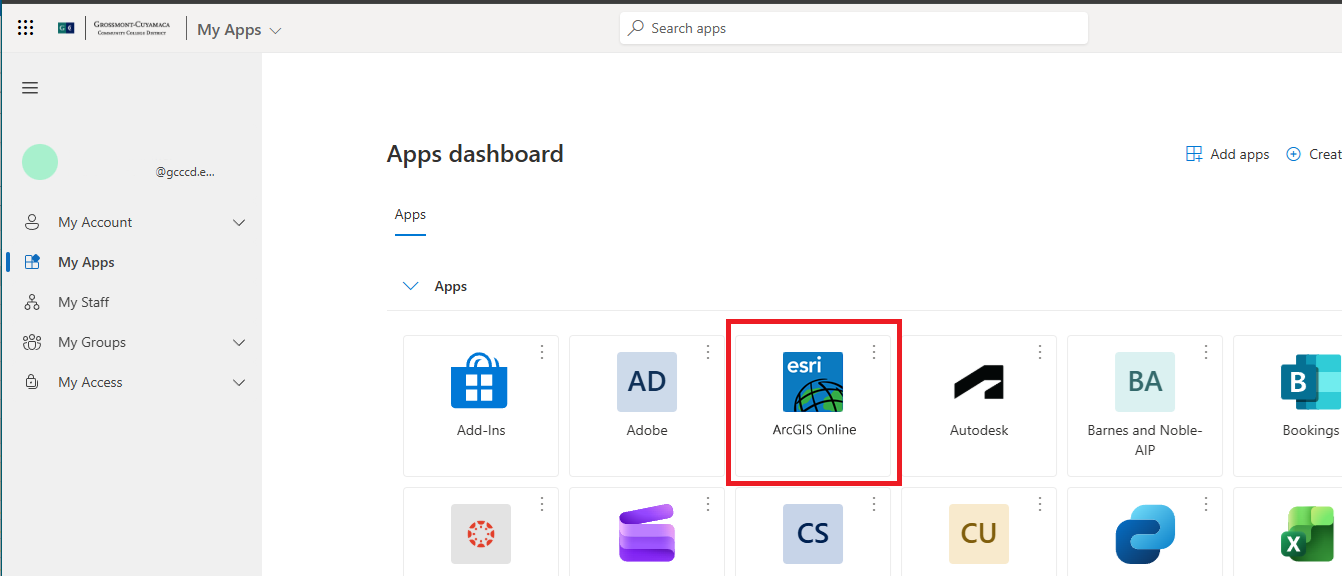
- After selecting ArcGIS Online a verification screen will open. Select Grossmont College if prompted. You may also need to complete multi-factor authentication.
*Note: You may also access ArcGIS directly by entering the URL: grossmontcollege.maps.arcgis.com.
ArcGIS Pro Download
You may need to download the software to your Windows PC. If so, follow the procedure above, then continue as follows:
- While logged in to ArcGIS Online, click on the avatar in the upper right-hand corner to open a small menu. Choose My settings.
- In the panel on the left-hand side, choose Licenses.
- Select ArcGIS Pro from the list.
- Finally, select Download.

Please follow up with your instructor for questions on assignments or how to use ArcGIS.
Need Further Assistance?
If you have questions or need clarification about this guidance, please reach out to the Technology Help Desk.